
digiKam with another database backend than SQLite
Last summer I saw bug #127321 an thought, this can be done by me (partly at least).
After some (successful) prototypic implementation, most of the time where spent into smooth integration in the existing
project:
- adding a solution for migrating from SQLite to MySQL and vice versa
- add possibility to start an own database server
- and bug fixing...
Because only a few persons trying out this work (which resides atm. in a dedicated branch), the most bugs are possible undiscovered.
So if you are brave enough to crash your whole existing database structure (images are not touched), have a little amount of free time or you would like
to have the future right now and you are able to compile your version by yourself: You are the right person :)
(For the last point: If you are not yet familiar on how to test current development code, this page gives you a short introduction how to get and compile digiKam from source.
For reporting bugs please use the normal KDE bug tracker.
The dedicated branch is located at this url from KDE svn repository
Assume you compiled your version and would like to test digikam:
After the first start, your existing database settings will be converted to an extended format.
After that, your are using digiKam in SQLite mode, it should work like before (from users point of view).
To switch to MySQL mode:
- go to the database settings (Settings -> Configure Digikam -> Database)
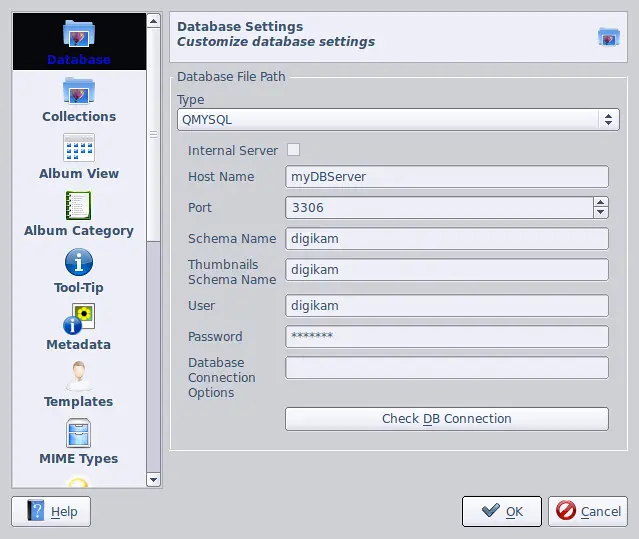
- at the database type combobox, choose QMYSQL as backend.
- now your have 2 options:
- press "Check connections" - A dialog should show you, that the connection could be established with the current settings.
- press "OK"
-> use an existing database management server where you have created a dedicated account
- fill in all needed data for that
-> use an internal database management server
- this mode works like the internal akonadi database server mode (thanks goes to the akonadi people - great work!), but has a little bit improved
- only check the "Internal Server" checkbox
The new settings should applied. You are ready to test =).
To copy your SQLite data to your MySQL database do the following:
- go to the migration dialog (Tools -> Database Migration)
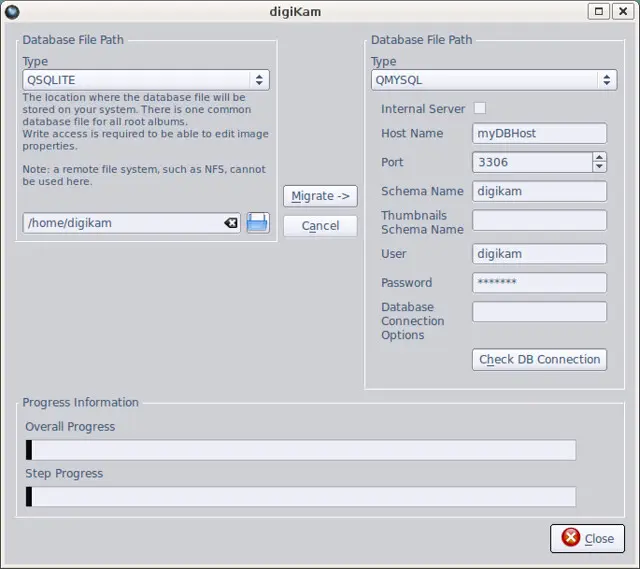
- As source (left side) select your SQLite database
- As target (right side) type in your MySQL database connection database
- Press the "Migrate ->" button and enjoy the progress on the bottom of the dialog
Notes:
1) [General] If the connection is down, digiKam stops its database actions, and tries to reconnect.
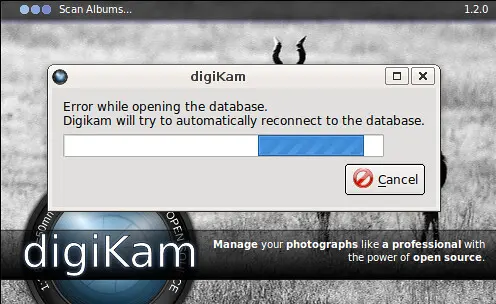
If the database link appears again, digiKam continues it's work.
You can cancel this waiting behaviour but then you have only limited access (almost nothing) to the digikm application.
(But you can change the database settings, in case that the host has changed or something else.)
2) [Internal Database Server] The digiKam database server is started only once per system. It registers on D-Bus and watches all digiKam
instances of the same user. It stops, if these instances are closed.
Background information:
It's easy to add a new database backend like PostgreSQL to digiKam, because most of the sql statements are moved out from code to a configuration file
(which can be extended on demand). It exists only specific code for the database server and configuration dialog.
Finally: Thanks goes to the great digiKam team and Marcel in particular, which gaves many ideas, hints and coding examples.
